Free IoT Remote SSH: Setup & Examples For Secure Access
Are you ready to unlock the power of your Internet of Things (IoT) devices from anywhere in the world? Secure Shell (SSH) offers a robust and secure gateway to remotely access and control your IoT devices, transforming how you manage and interact with your connected world.
The realm of IoT is rapidly expanding, permeating every facet of modern life, from the smart homes we inhabit to the complex industrial systems that drive our economies. The proliferation of these devices necessitates a secure and efficient means of management, and SSH emerges as a pivotal technology in this landscape. While the concept of SSH might seem daunting, its practical application is remarkably accessible, especially when utilizing free tools and readily available resources. This guide aims to demystify SSH, providing a clear roadmap for harnessing its capabilities and integrating it into your IoT projects. Whether you are a seasoned tech enthusiast or a curious beginner, understanding SSH is a crucial skill in today's interconnected world.
To truly grasp the essence of SSH in action, lets delve into a practical illustration. Imagine you own a Raspberry Pi that diligently monitors weather conditions, capturing data on temperature and humidity. You're away from home, perhaps traveling, and you desire to check the live readings from your weather station. This is where SSH proves its mettle. By establishing a secure connection, you can remotely access your Raspberry Pi, retrieve the necessary data, and ensure your weather station is operating optimally. This scenario underscores the power and convenience of SSH.
To further illustrate, lets explore the scenario of accessing your Raspberry Pi remotely. Supposing your Raspberry Pi is already configured and connected to your home network. The goal is to access it from your laptop while you're away from home. The following steps provide a general overview of what's involved:
1. Enable SSH on your Raspberry Pi: This is usually enabled by default on most Raspberry Pi OS distributions, but its worth verifying. You can do this through the Raspberry Pi configuration menu or via the command line.
2. Configure Port Forwarding (if necessary): If your Raspberry Pi is behind a router, you'll need to configure port forwarding. This involves setting up your router to forward incoming SSH traffic (typically on port 22) to the internal IP address of your Raspberry Pi. The specifics of port forwarding vary based on your router model; consult your router's documentation for precise instructions.
3. Determine Your Public IP Address: To connect from outside your home network, you need your public IP address. You can often find this by searching "what is my IP" on a search engine, or by checking your router's status page. Keep in mind that many internet service providers assign dynamic IP addresses, meaning your IP can change. If this is the case, consider using a dynamic DNS service.
4. Connect via SSH: Open a terminal (on Linux or macOS) or an SSH client (like PuTTY on Windows). Use the command: `ssh pi@your_public_ip_address`. Replace `pi` with your Raspberry Pi's username and `your_public_ip_address` with the actual IP address. You'll likely be prompted for your password.
5. Once connected: You can then execute commands on your Raspberry Pi remotely, such as checking the temperature and humidity or managing other aspects of your system.
Secure Shell (SSH) is more than just a technical tool; it represents a fundamental shift in how we interact with remote devices. It is a crucial skill for anyone involved in managing smart devices, networks, or remote systems.
The implications of IoT remote SSH extend far beyond home automation. Consider the applications across various industries:
- Home Automation: Homeowners use SSH to remotely manage smart home devices, such as thermostats, security cameras, and lighting systems. They can troubleshoot issues, adjust settings, and monitor performance from anywhere.
- Industrial Automation: In industrial settings, SSH facilitates remote monitoring, control, and maintenance of equipment, allowing engineers to diagnose and resolve problems without on-site visits.
- Remote Monitoring and Management: System administrators utilize SSH to oversee the performance and status of devices on a network. This enables proactive identification and resolution of potential issues.
- Data Collection: Researchers and scientists use SSH to remotely collect data from sensors and devices deployed in various environments.
- Educational Purposes: Students and educators use SSH to learn about networking, system administration, and cybersecurity.
The utilization of an IoT remote SSH connection is prevalent across three primary scenarios:
- Remote Monitoring and Management of Devices: This allows administrators to remotely keep an eye on the performance and status of devices, troubleshoot issues, and perform maintenance tasks.
- Secure Data Transfer: SSH provides a secure channel for transferring data to and from IoT devices, essential for data logging, configuration updates, and backup operations.
- Automated Device Control: SSH can be integrated into scripts and automation systems to control devices remotely, execute commands, and respond to events.
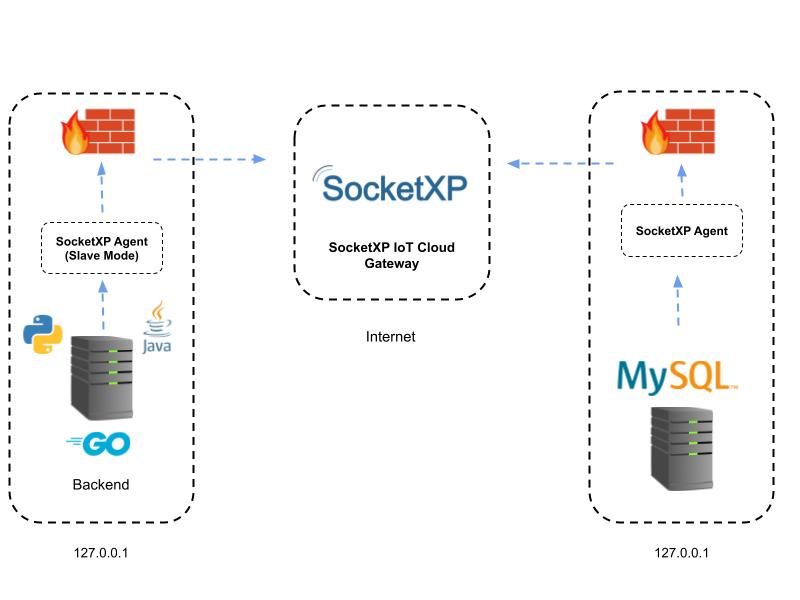
Several free SSH IoT platforms are available, each offering unique features and capabilities. Three prominent examples include:
- Platform A: A popular, user-friendly platform with a robust feature set. It often includes features like automated key management, port forwarding, and built-in security features.
- Platform B: Another SSH IoT free platform that has a focus on ease of setup and integration. It may offer features like pre-configured device agents and cloud-based management interfaces.
- Platform C: A platform renowned for its advanced security features, including multi-factor authentication and intrusion detection. It can be favored by users prioritizing the security of their IoT devices.
The benefits of using SSH for IoT devices are numerous:
- Enhanced Security: SSH encrypts all communication, protecting data from eavesdropping and unauthorized access.
- Remote Access: You can access and control devices from anywhere with an internet connection.
- Efficient Management: SSH allows for efficient management of devices, including software updates, configuration changes, and troubleshooting.
- Automation Capabilities: SSH can be integrated into scripts and automation systems to control devices and respond to events.
- Cost-Effective Solution: SSH is a free and readily available tool, making it a cost-effective solution for remote device management.
To utilize SSH for remote access to your IoT devices effectively, its crucial to understand the security implications involved. SSH, while secure by design, is not foolproof, and improper configuration can leave your devices vulnerable. Following the security best practices described below will help mitigate potential risks and ensure secure remote access:
- Strong Passwords: Use strong, unique passwords for all user accounts on your IoT devices. Avoid default passwords, easily guessable words, or repetitive patterns.
- Key-Based Authentication: Implement SSH key-based authentication instead of password-based authentication. This method is significantly more secure, as it eliminates the need to enter passwords.
- Update and Patch: Keep your IoT devices' operating systems and software up to date, and install security patches promptly. Regular updates address known vulnerabilities that could be exploited by attackers.
- Firewall Configuration: Configure a firewall on your IoT devices to restrict access to SSH and other services. Only allow connections from trusted IP addresses or networks.
- Port Hardening: Change the default SSH port (port 22) to a non-standard port. This can help reduce the risk of automated attacks.
- Regular Audits: Conduct regular security audits to identify and address any vulnerabilities in your SSH configuration or IoT device setup.
- Monitor Logs: Regularly monitor SSH logs for suspicious activity, such as failed login attempts or unusual connection patterns.
- Disable Unnecessary Services: Disable any unnecessary services on your IoT devices to minimize the attack surface.
- Two-Factor Authentication (2FA): If your SSH server supports it, enable two-factor authentication for added security. 2FA requires a second form of verification, such as a code generated by an app, in addition to the password.
- Network Segmentation: Segment your network to isolate your IoT devices from other devices. This limits the impact of a security breach on your network.
In today's interconnected world, IoT devices are everywhere. From smart homes to industrial automation, IoT devices play a crucial role in modern technology. However, managing these devices remotely requires the right tools and techniques. This is where SSH comes into play, offering a secure and efficient way to interact with devices remotely.
As we have seen, setting up SSH for remote access to your Raspberry Pi or other IoT devices doesn't require a significant investment of time or money. By following the guidelines in this article, you can establish a secure and reliable means of managing your devices from anywhere in the world. From the fundamental principles of SSH to the practical steps of setup, you now have a comprehensive understanding of the best free tools and techniques for securing and managing your IoT infrastructure.


 devices from anywhere in the world? Secure Shell (SSH) offers a robust and secure gateway to )